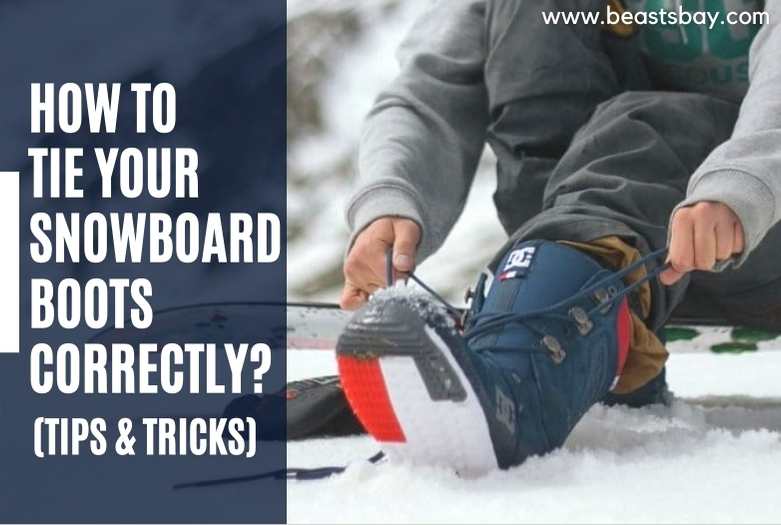
Snowboarding has grown in popularity as one of the most popular winter activities. It is a great way to connect with nature and explore the outdoors. However, it can be difficult to enjoy your time on the slopes if you’re not wearing the proper equipment. But with the right foot positioning and a few key steps. It’s actually fairly easy. Learning how to tie snowboard boots correctly will allow you to enjoy your time on the mountain.
Read more on how to heat mold Snowboard boots?
New skiers and snowboarders may be unsure of how to tie their footwear. This article will guide you on how to tie your snowboard boots in.
When you purchase snowboard boots, you need to take the time to determine the proper fit. Typically, people purchase a size larger than their actual foot size.
However, it is crucial to purchase a pair of boots that fit correctly. When you try on a pair of snowboard boots, make sure that the front of the boot can touch the tip of your toes.
Table of Contents
How To Tie Snowboard Boots?
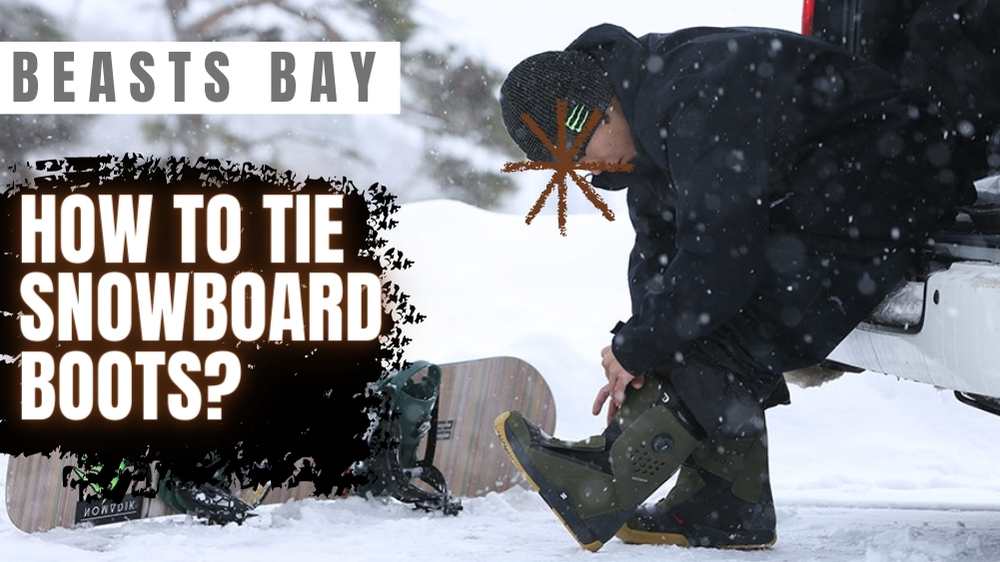
Tying your snowboard boots may seem like a complicated task. But it’s actually not that difficult. You need to make sure your toes are pointed upwards and then place your heel over the back of the boot and towards the inside of your leg. Lastly, tighten both laces evenly until they’re snug enough for you.
Step 1: Choose Snowboarding Boot Position
The first step is to choose a snowboarding boot position. Place your feet shoulder-width apart on a flat surface.
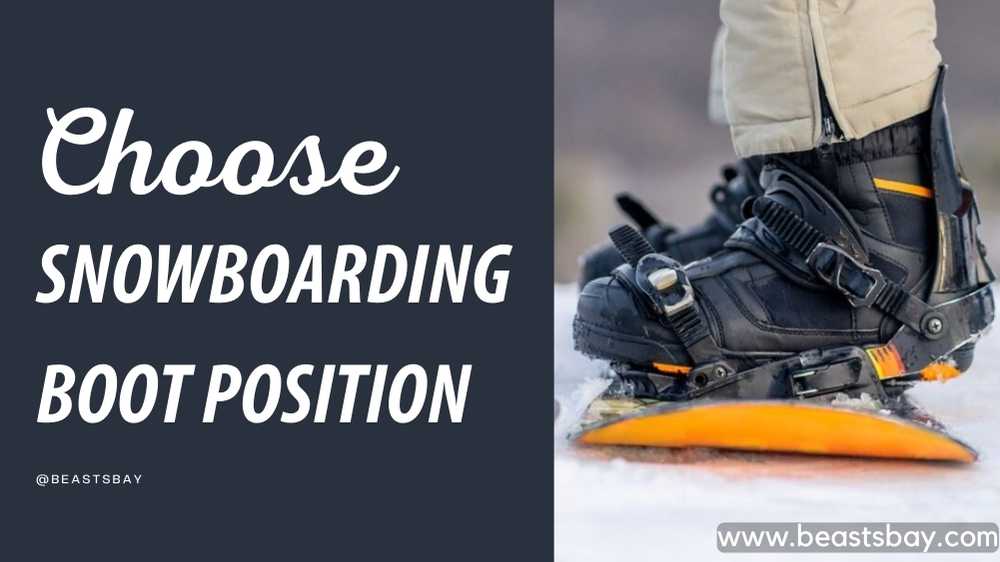
Flex your boots forward and back while shifting your weight from side to side.
If the boot fits snugly, your heels should lift when flexing the boot. If it doesn’t, you can try strapping the board while standing on a carpet. So you can test the bindings. Make sure your feet are dry before you go out snowboarding.
Step 2: Tighten The Liner of The Boots
The next step is to pull the boot tongue into the upper portion. You’ll need to tighten and secure your liner once your foot is in your boot.

To tighten the liner around your ankle, use a pull lace. Tuck any loose laces and the tongue of your boot in after tightening the liner.
Don’t: This is the first place to cut off circulation to your toes, so don’t over-tighten it.
Step 3: Tighten The Laces
Start with the loops closest to your toes and work your way up to your ankle by tightening the laces around your toe box.
Step 4: Lace The Eyelets Above The Ankle
After you’ve secured the toe box, lace-up the eyelets above your ankle. Use a regular overhand knot between each set of eyelets to isolate pressure.
Don’t: Do not use this knot to equalize pressure across your shins.
Final Step
You’re almost done tying your snowboard boots. But this final step is perhaps the most critical. To keep the laces from loosening over the day, most snowboarders choose a typical “double knot,” comparable to tying up their running shoes.
This double overhand knot will only increase the duration of your lacing pressure.
Some Tips For How You Should Put Them On
The first step is to place your feet in the boot and make sure your toes are pointing upwards.
The next step is to put your heel in the back of the boot and towards the inside of your leg. The final step is to tighten both laces evenly until they’re snug enough for you.
If you follow these three steps, you’ll be able to tie snowboard boots in no time.
Now that you know how to do it, next time you go snowboarding you’ll be able to tie your boots on your own.
How To Choose The Right Size Snowboard Boots?
Snowboarding is a fun winter sport. But the wrong size snowboard boots can really take away from your experience.
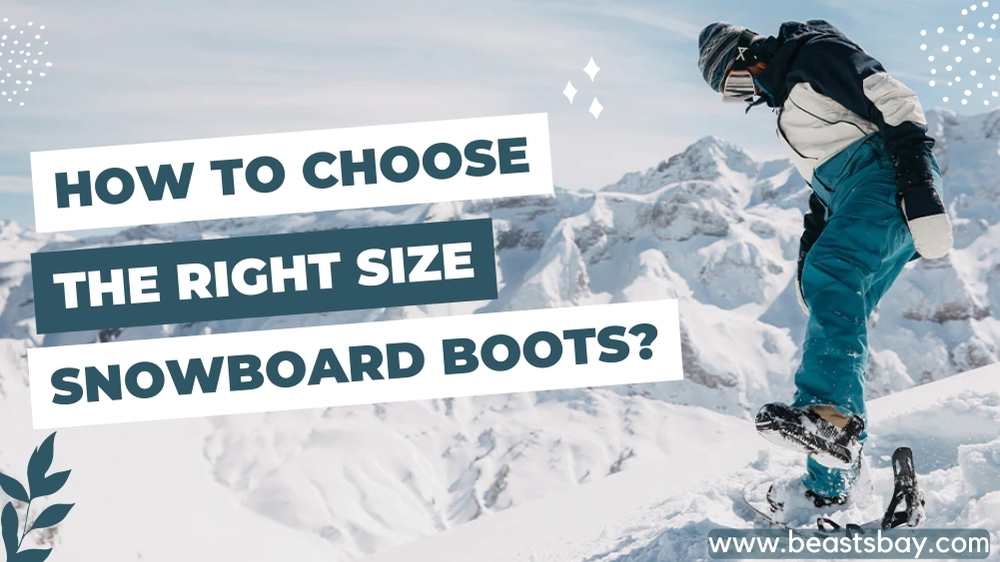
When you purchase snowboard boots, you need to take the time to determine the proper fit. Typically, people purchase a size larger than their actual foot size.
However, it is crucial to purchase a pair of boots that fit correctly. When you try on a pair of snowboard boots, make sure that the front of the boot can touch the tip of your toes.
If you have large feet, you should consider buying a pair of snowboard boots that are two sizes bigger than your normal shoe size. As well, if you have small feet, buy a boot that’s one size smaller than your normal shoe size.
The key is to make sure that your toes are not touching the front of your snowboard boot when they are laced up properly.
If they are touching the front of the boot, then it’s an indication that they’re too small. The same goes for if your toes are bunched together at the toe area of the boot—that means they’re too big.
How To Avoid Toe Pain?
Snowboarding can be hard on your toes and come with a lot of pain. To avoid this, your toes should be pointing up when you are in the boot.
To avoid discomfort or injury, you should ensure that the laces are long enough for you to fully tie your snowboard boot.
Then, place the heel over the back of the boot and towards the inside of your leg. Lastly, tighten both laces evenly until they’re snug enough for you.
You’ll have mastered how to tie snowboard boots in little time by following these steps. Now that you know how to do it, hop on that board and go.
Read more on how to put spurs on boots?
Conclusion
With a little practice, you’ll be tying your snowboard boots like a pro. Once you’ve purchased your snowboard boots, you need to tie them properly. Ideally, the boots should fit tightly around your shinbone and slightly looser over the top of your foot.
If they’re too loose, you might end up with a loose fit. In such a case, you’ll want to tighten the laces more carefully and avoid getting them too twisted. Once you’ve tightened the laces, you’ll need to wear a pair of socks to make sure that the snowboard will fit comfortably. Best of luck with your new journey at snowboarding.